UNITY VFX GRAPH · WRITTEN TUTORIAL
Unity VFX Graph: Model Particle Effects with SDF
By Eric VFX Studio · Published 2026-10-01 · Video: 18 min
QUICK ANSWER
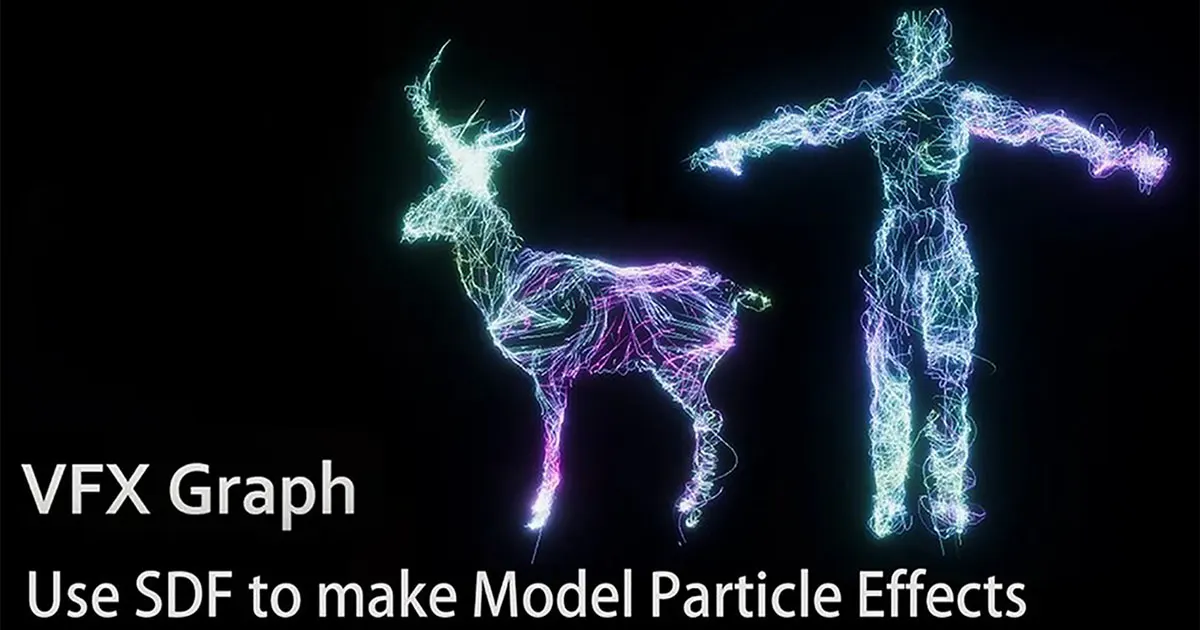
To make model-shaped particles in Unity VFX Graph, bake the model into a Signed Distance Field (SDF) with the SDF Bake Tool, place particles on that SDF in the Initialize context, and use Conform to Signed Distance Field and Turbulence in Update to keep particles moving around the shape. Swapping the SDF texture changes the model without rebuilding the graph.
What you need
- Unity 2021.2 or later (the video uses 2021.2.17f1)
- Visual Effect Graph package
- A mesh to bake into an SDF
- A render pipeline that supports VFX Graph (URP or HDRP)
What an SDF does in VFX Graph
A Signed Distance Field is a 3D texture that stores, for every point in a volume, the distance to the nearest surface of a model. VFX Graph can sample this texture to place particles on or inside the model, and to pull particles back toward its surface. Because the shape lives in a texture, one graph can display many different models.
Step 1: Create the VFX Graph and the SDF input (0:32–2:39)
- Create a new Visual Effect Graph asset and add it to the scene.
- Create an exposed Texture3D property for the SDF, plus properties for the SDF size and position. Exposed properties let you swap models from the Inspector.
- Prepare the model you want to turn into particles (2:39 in the video).
Step 2: Bake the model with the SDF Bake Tool (3:25)
- Open the SDF Bake Tool from the Window menu (
Window > Visual Effects > Utilities > SDF Bake Tool). - Assign the mesh, adjust the bake box so it fits the model, and set the resolution. Higher resolution keeps more detail but uses more memory.
- Bake and save the result as a Texture3D asset, then assign it to the SDF property of the graph.
Step 3: Set particle count and color (5:00)
- In the Spawn context, set how many particles are created; raise the system capacity if the shape looks sparse.
- In Initialize, place particles on the SDF with a Position (Signed Distance Field) block that samples the baked texture.
- Set color and size, for example with a gradient over lifetime, to define the look of the model.
Step 4: Swap SDF files (7:25)
Bake several models and assign a different Texture3D to the exposed SDF property. The same graph now forms a different shape, which is useful for transitions between characters, props, or logos.
Step 5: Add Conform and Turbulence (10:09)
- In Update, add a Conform to Signed Distance Field block so particles are attracted back to the model surface.
- Add a Turbulence block so the particles drift and flow instead of sitting still.
- Balance the conform strength against the turbulence intensity: stronger conform keeps a crisp shape, stronger turbulence gives a looser, more energetic look.
Step 6: Add particle trails (12:00)
Add a trailing effect so moving particles leave light streaks. Trails make the motion around the model easier to read and add a lot of energy to the effect.
Step 7: Set up the environment with a Global Volume (14:31)
Add a Global Volume with bloom so bright particles glow. Bloom is a large part of the final look of model particle effects, so tune it together with particle color and intensity.
Variations and parameter tuning (16:50)
The last part of the video shows different examples made by changing the SDF, particle count, color, conform, and turbulence values. Exposing these values as properties lets you create variations from one graph.
FAQ
Which Unity version do I need for the SDF Bake Tool?
The SDF Bake Tool is part of Visual Effect Graph in Unity 2021.2 and later. The video uses Unity 2021.2.17f1.
Can one VFX Graph show different models?
Yes. Expose the SDF texture as a property and assign a different baked SDF to change the shape without editing the graph.
How do I keep particles on the model while they move?
Use Conform to Signed Distance Field in the Update context to pull particles toward the surface, and balance it against Turbulence for movement.